ⓘ Important
This content applies to the Windows Virtual Desktop Spring 2020 update public preview with Azure Resource Manager objects.
Click here for guides using Windows Virtual Desktop Fall 2019 release without Azure Resource Manager objects.
The Windows Virtual Desktop Spring 2020 update makes it possible to create and manage app groups with the Azure portal. RemoteApp application groups are used to publish Start menu apps. In addition, you can now use Azure Active Directory groups to create app group assignments.
In this post, I will walk you through managing app groups with the Azure portal, which includes:
- Creating assignments for the default desktop application group
- Creating additional RemoteApp groups
- Publishing Start menu apps to RemoteApp groups
- Registering a RemoteApp group to a workspace
- Creating assignments for a RemoteApp group
Desktop application group
When you created your host pool a default app group was created. This app group is called the desktop application group and it publishes the full desktop. If you want users to be able to access the full desktop, you will need to create assignments for this app group.
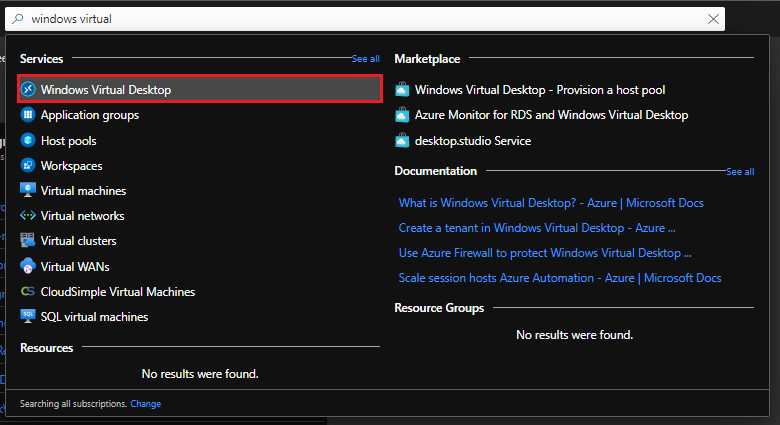
- Sign into the Azure portal.
- Search for Windows Virtual Desktop, and select Windows Virtual Desktop under Services
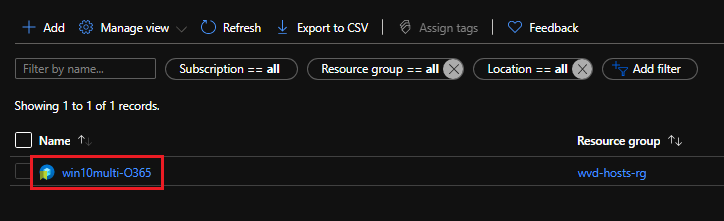
- On the Windows Virtual Desktop pane, under Manage, select Host pools.

- Select the appropriate host pool from the list.
- On the host pool details pane, under Manage, select Application groups.
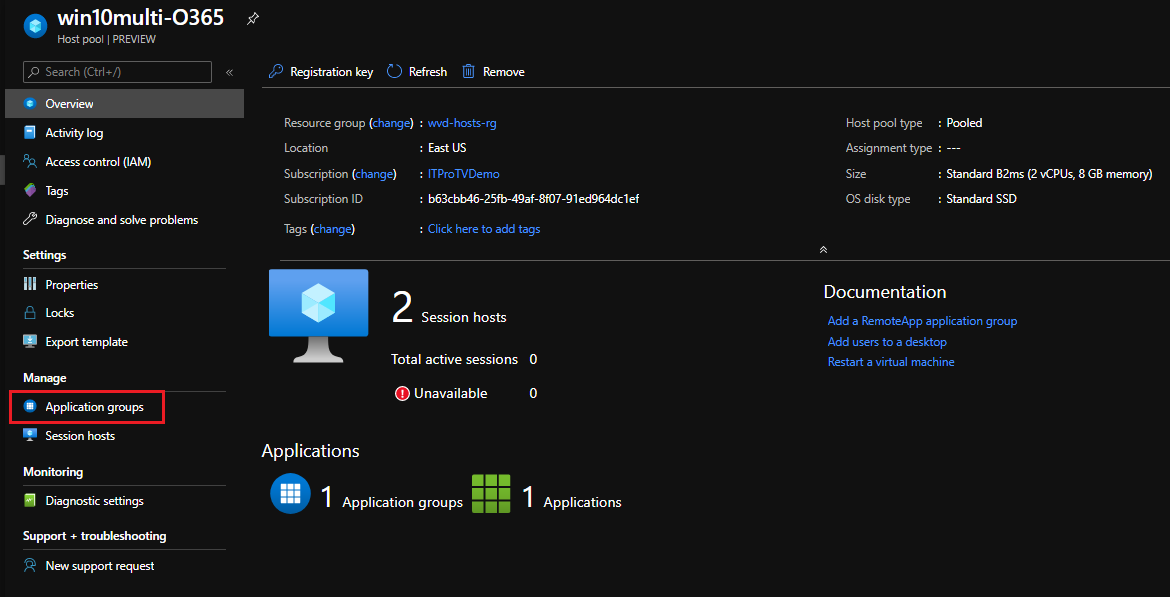
Here you will see a list of the application groups for the host pool. The only one listed is the default desktop application group that was created with the host pool. Notice the application group type is desktop. This app group publishes the full desktop, so applications is listed as zero. Users is also zero, indicating no assignments have been created for this app group.

- Select the desktop application group. This brings you to the overview of the app group.
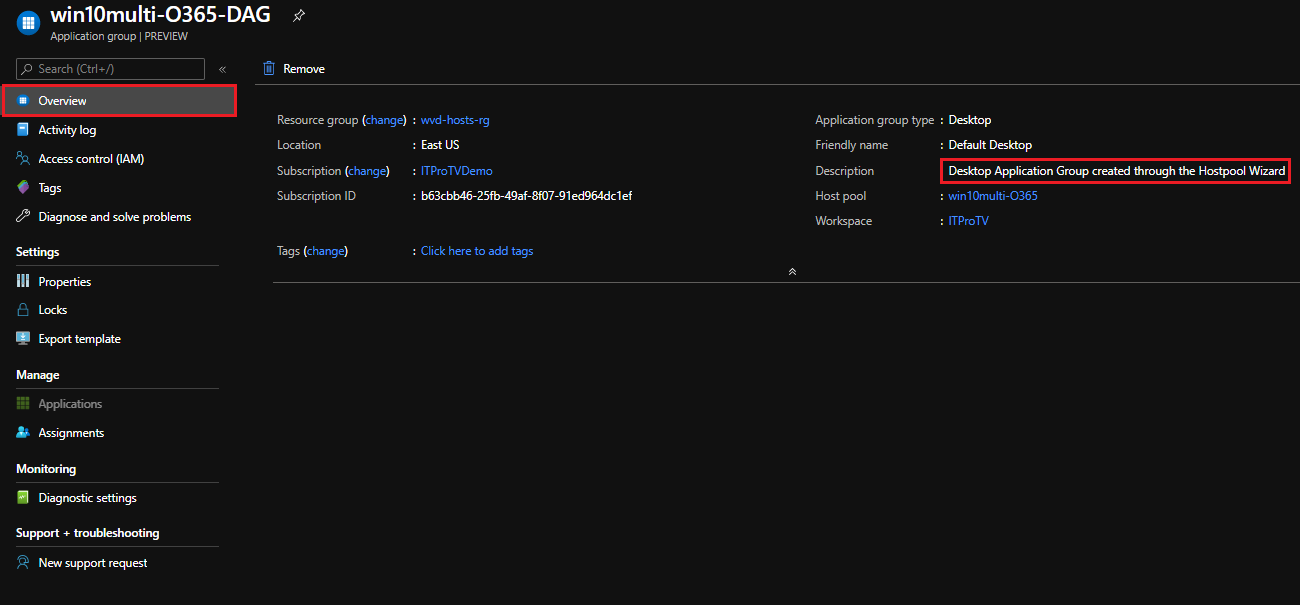
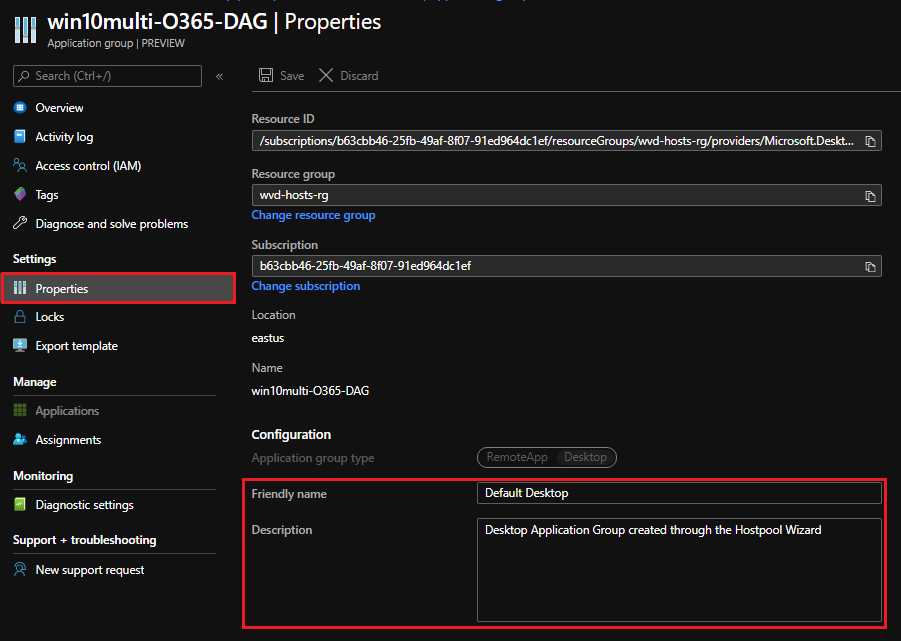
- Under Settings select Properties. Here you can change the Friendly name and Description.
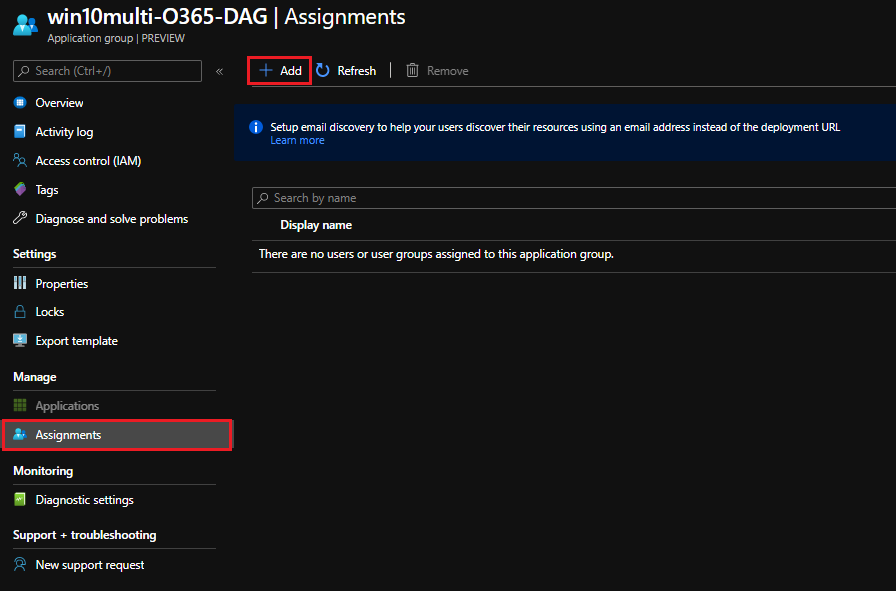
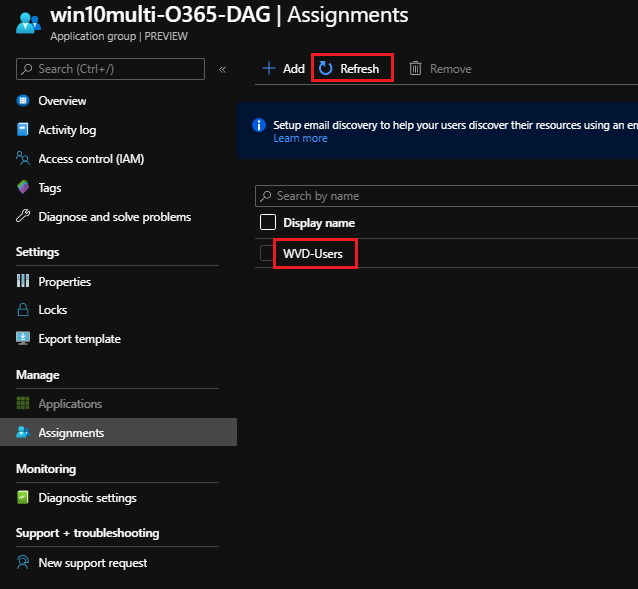
- Under Manage, select Assignments. By default, there are no users or user groups assigned. Select Add.
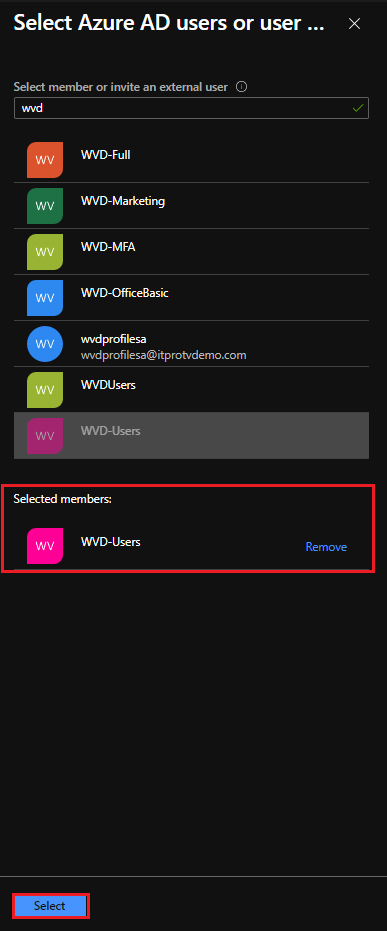
- Search for and select the users or user groups you wish to grant access to the desktop application group. You can add multiple users or user groups, or any combination of each. Then select Select.
- Select Refresh if necessary, and you will see the users and user groups that have assignments listed.
Prior to the WVD Spring 2020 update, assignments were administered using PowerShell, and you could only add users, by UPN, one user at a time. Now you can add assignments to user groups, and control access by modifying the group membership. This is a big improvement and a time saver.
If you navigate back to the host pool overview and select Application groups, you will notice the Users column shows one, even if you added a user group with several members. It is a little misleading, each group is counted as one assignment, regardless of how many members the group has.

Create a RemoteApp group
In addition to the desktop application group, you can create one or more RemoteApp groups. These groups are used to publish individual Start menu apps.
There are two ways to begin creating a RemoteApp group:
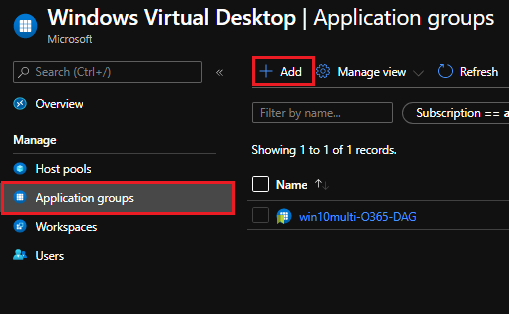
- From the Windows Virtual Desktop overview, select Application groups and then select Add.
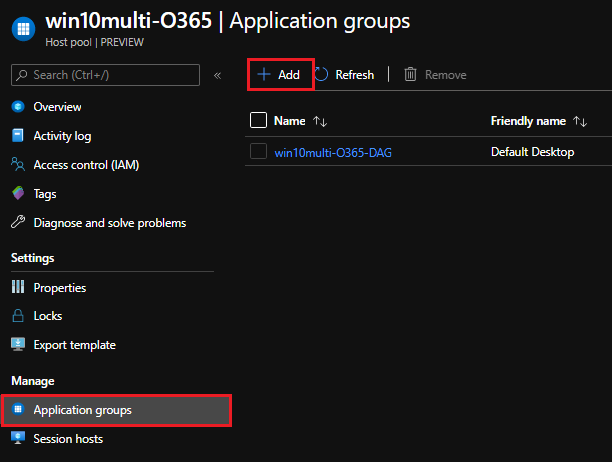
- From within the host pool, under Manage select Application groups and then select Add.
If you start from within the host pool, the app group will be added to that host pool. If you start from the WVD overview, you will have to specify which host pool to add the app group to. These steps will start from within the host pool.
Basics
On the Basics tab:
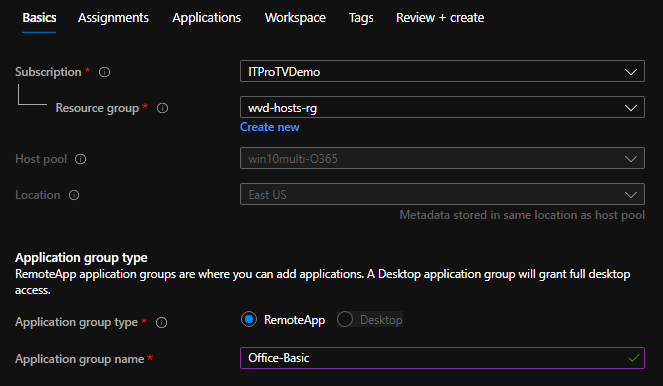
- Subscription: Select the subscription you are creating the WVD resource in.
- Resource group: Click Create new to create a new resource group or select an existing resource group to create the app group in.
- Host pool: If necessary, specify the host pool to create the app group in.
- Location: If necessary, specify the location to store the metadata.
- Application group type: Select RemoteApp. You can only have one Desktop app group per host pool, so if one already exists, Desktop will be greyed out.
- Application group name: Enter a name for the RemoteApp group.
Select Next: Assignments.
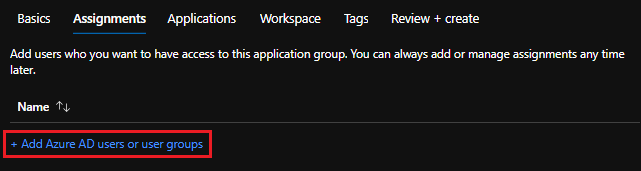
Assignments
On the Assignments tab:
- Select Add Azure AD users and user groups (you can skip this step if you want to add assignments later)
- Search for and select the users or user groups you wish to grant access to the application group. You can add multiple users or user groups, or any combination of each. Then select Select.
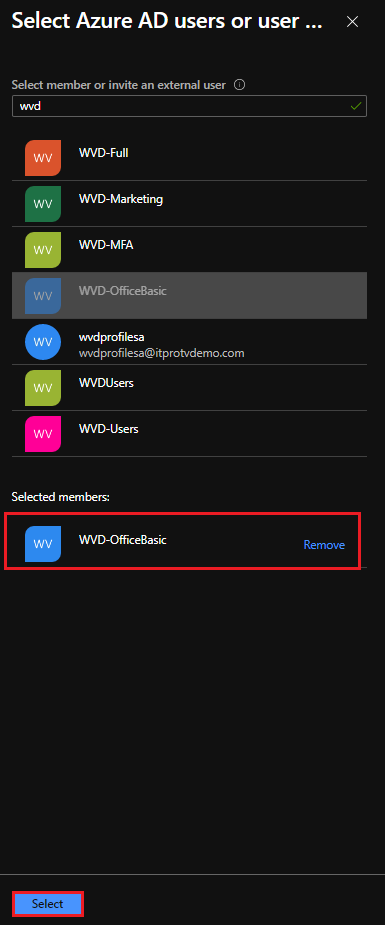
Select Next: Applications.
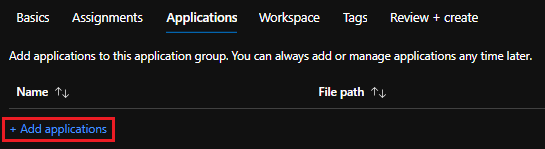
Applications
On the Applications tab:
- Select Add application (you can skip this step if you want to add applications later)
- On the Add application blade:
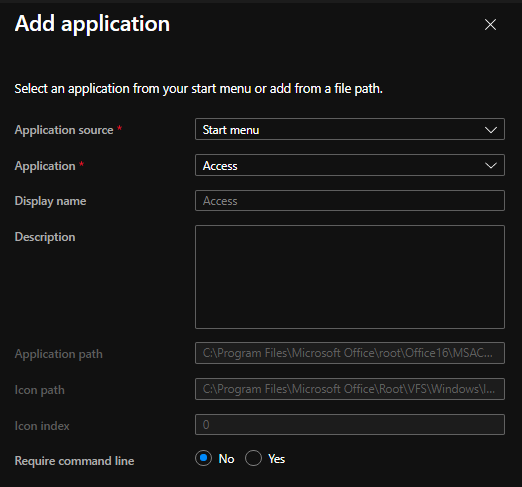
- Application source: Add an application from the Start menu or from a file path.
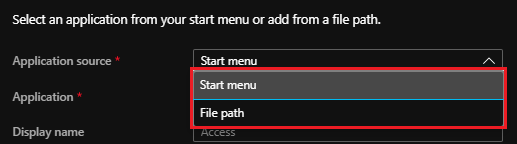
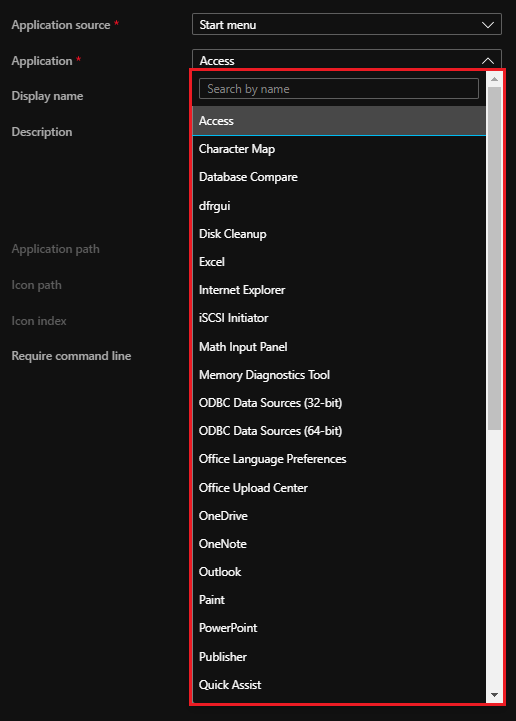
If you choose Start menu:
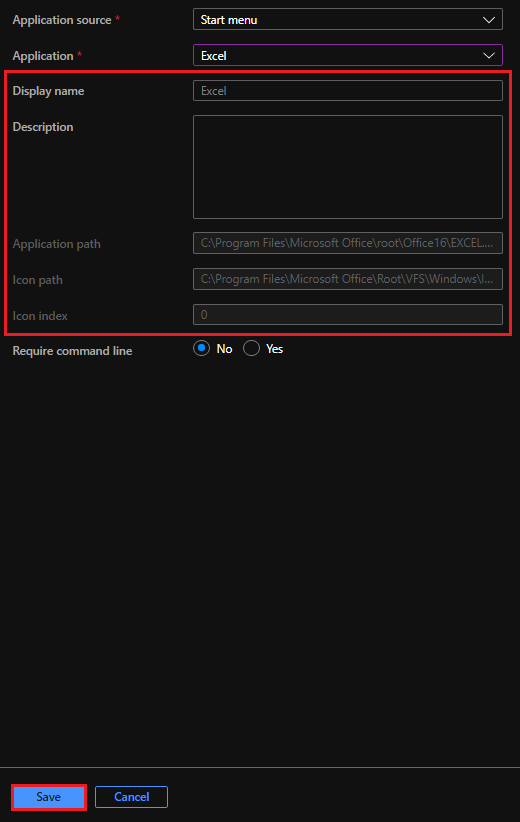
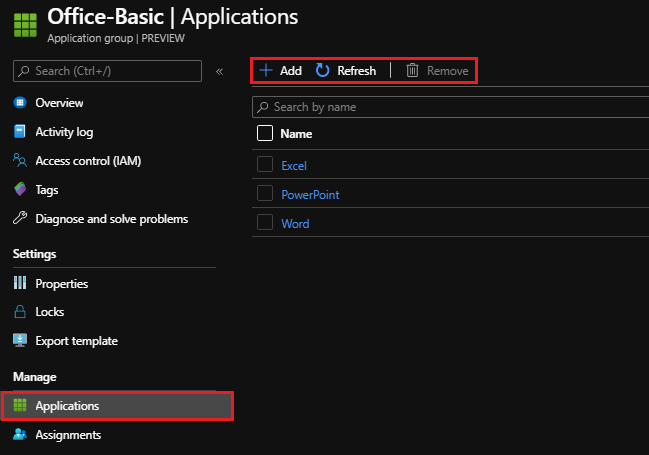
- Application: Select an application from the dropdown list. This list is populated from the applications installed on the session hosts in the host pool. I used an image that included Office 365, so Office applications are available to add to the app group.
Once you select an app from the list, the app details will fill in automatically. Select Save.
If you choose File path:
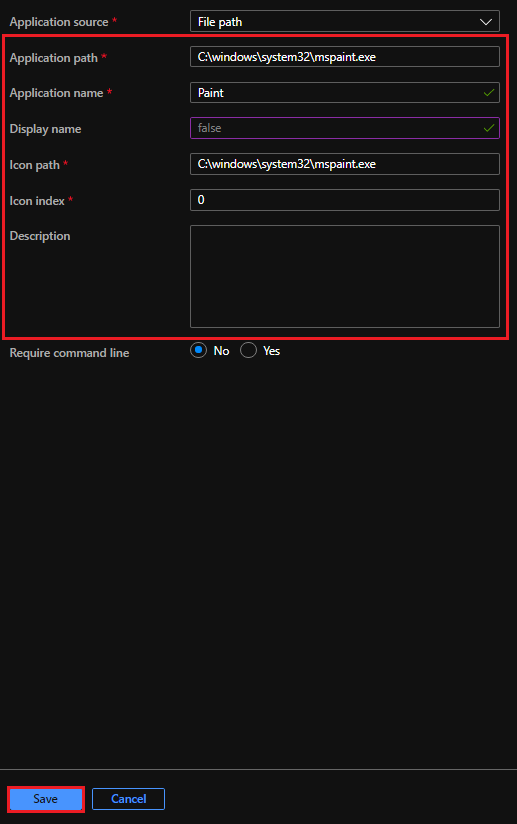
- Application path: Enter the path to the application executable.
- Application name: Enter the name of the application.
- Display name: Enter a display name for the application (optional).
- Icon path: Enter the path to the icon for the application.
- Icon index: Enter the index value for the icon (0 to use the first icon in the file).
- Description: Enter a description of the application (optional).
Select Save.
- Repeat steps 1 and 2 to add as many times as necessary. An app group can contain one or many applications.
Select Next: Workspace
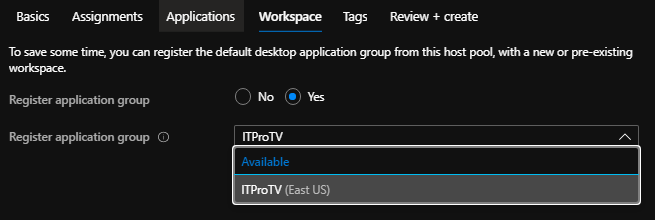
Workspace
For users to access this app group, it must be registered to a workspace. By default, No is selected for Register application group. If you do not register the app group now, you will have to do it later before users can access it.

To register the app group now:
- Register application group: Yes
- Register application group: (should say “To this workspace” I think) Select the workspace to register the app group with. All app groups in a host pool must be registered to the same workspace. If you registered the default desktop application group to a workspace when you created the host pool, that workspace will be selected, and you will not be able to change it.
Tags are used to categorize resources in Azure for viewing and billing, but they are optional. If you want to create and assign tags, select Next: Tags and fill in the name/value pairs.
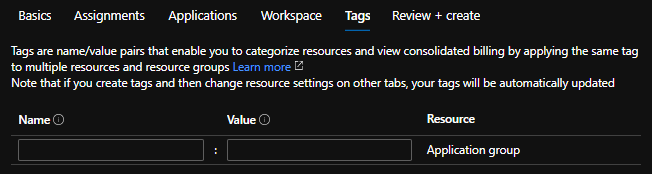
Once you have completed the Tags tab, or if you choose not to assign tags, select Review + create.
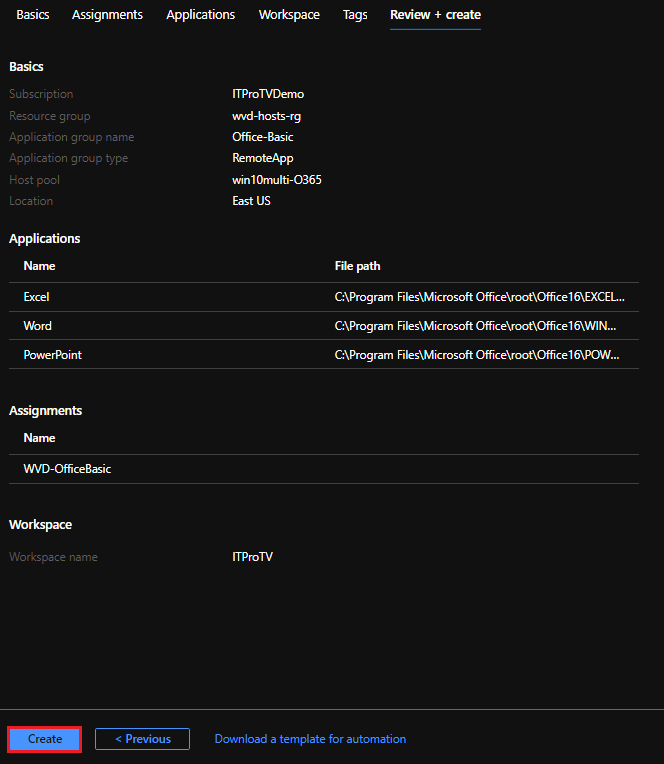
Review + create
On the review + create tab, you have a chance to review the information about your app group and make sure it looks correct. If it does not, select Previous to go back and make the appropriate changes. Azure will run your template through a validation process as well. If all the required information has been provided you will see a green bar stating Validation passed. If validation fails, read the error to determine what needs to be fixed.
Once you are satisfied with the information and validation passes, select Create to create the app group.
In a matter of minutes, less most likely, your app group will be created.
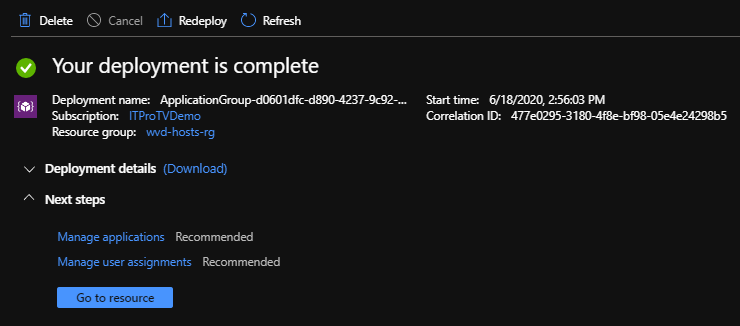
Now if you go back to the details of your host pool and select Application groups, you will see the new app group.

If you select the app group, you can manage the app group, including adding or removing applications…
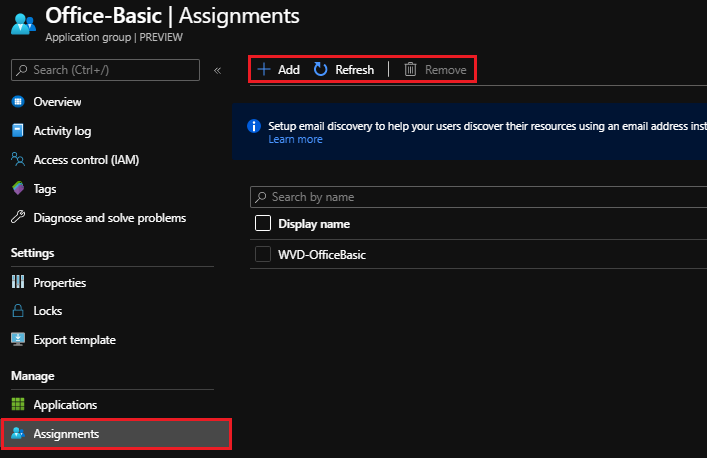
…and adding or removing assignments.
Summary
You can create as many RemoteApp application groups as you need. You can assign users and user groups to as many app groups as necessary to give them the applications they need. This gives you incredible flexibility. Simply adding a user to the correct Azure AD groups can ensure they have access to the applications they need. No need to create or maintain multiple images.
What’s Next?
One of the great benefits of Windows Virtual Desktop is that users can connect from anywhere, from just about any device. This also introduces some risk. Next, we will look at requiring multi-factor authentication to increase security when user connect to WVD.
Make sure to check out more great articles at ITProTV
Want to see it in action? Get a free preview of my Hands-on with WVD course at ITProTV.
https://www.itpro.tv/courses/microsoft/windows-virtual-desktop/
Comments are closed